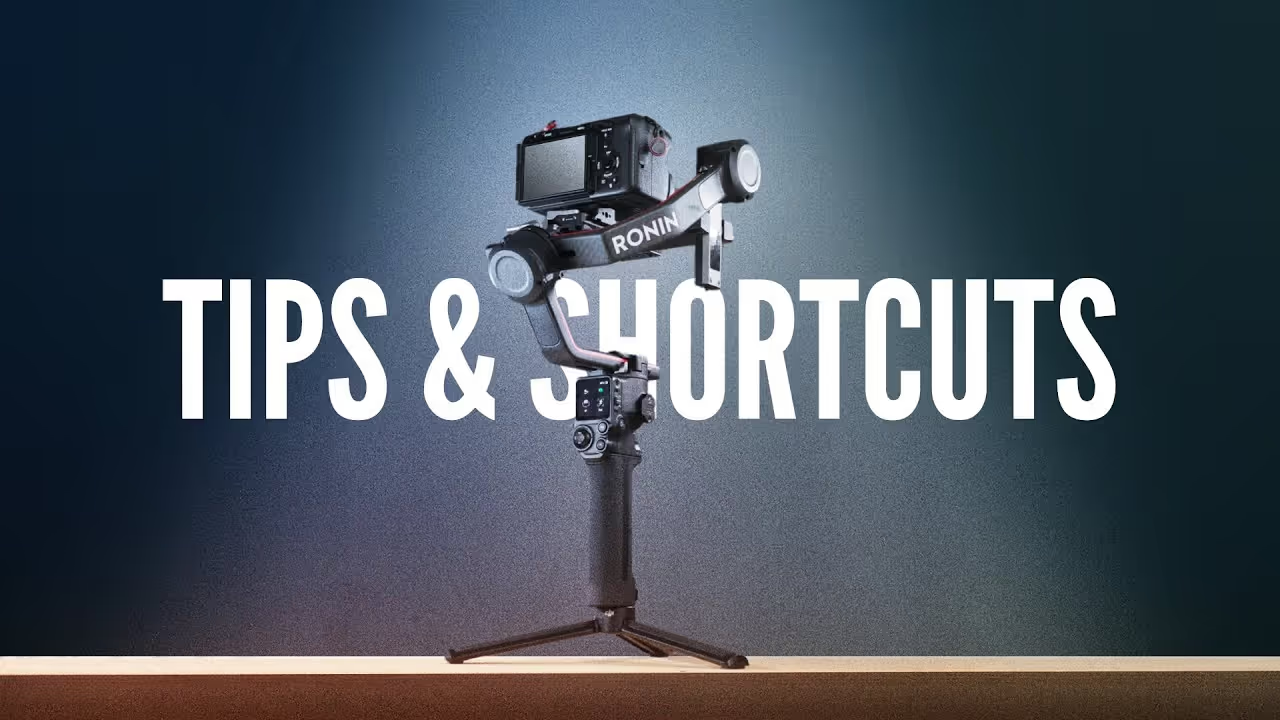
10 DJI RS3 Pro Tips & Shortcuts for BETTER Shots
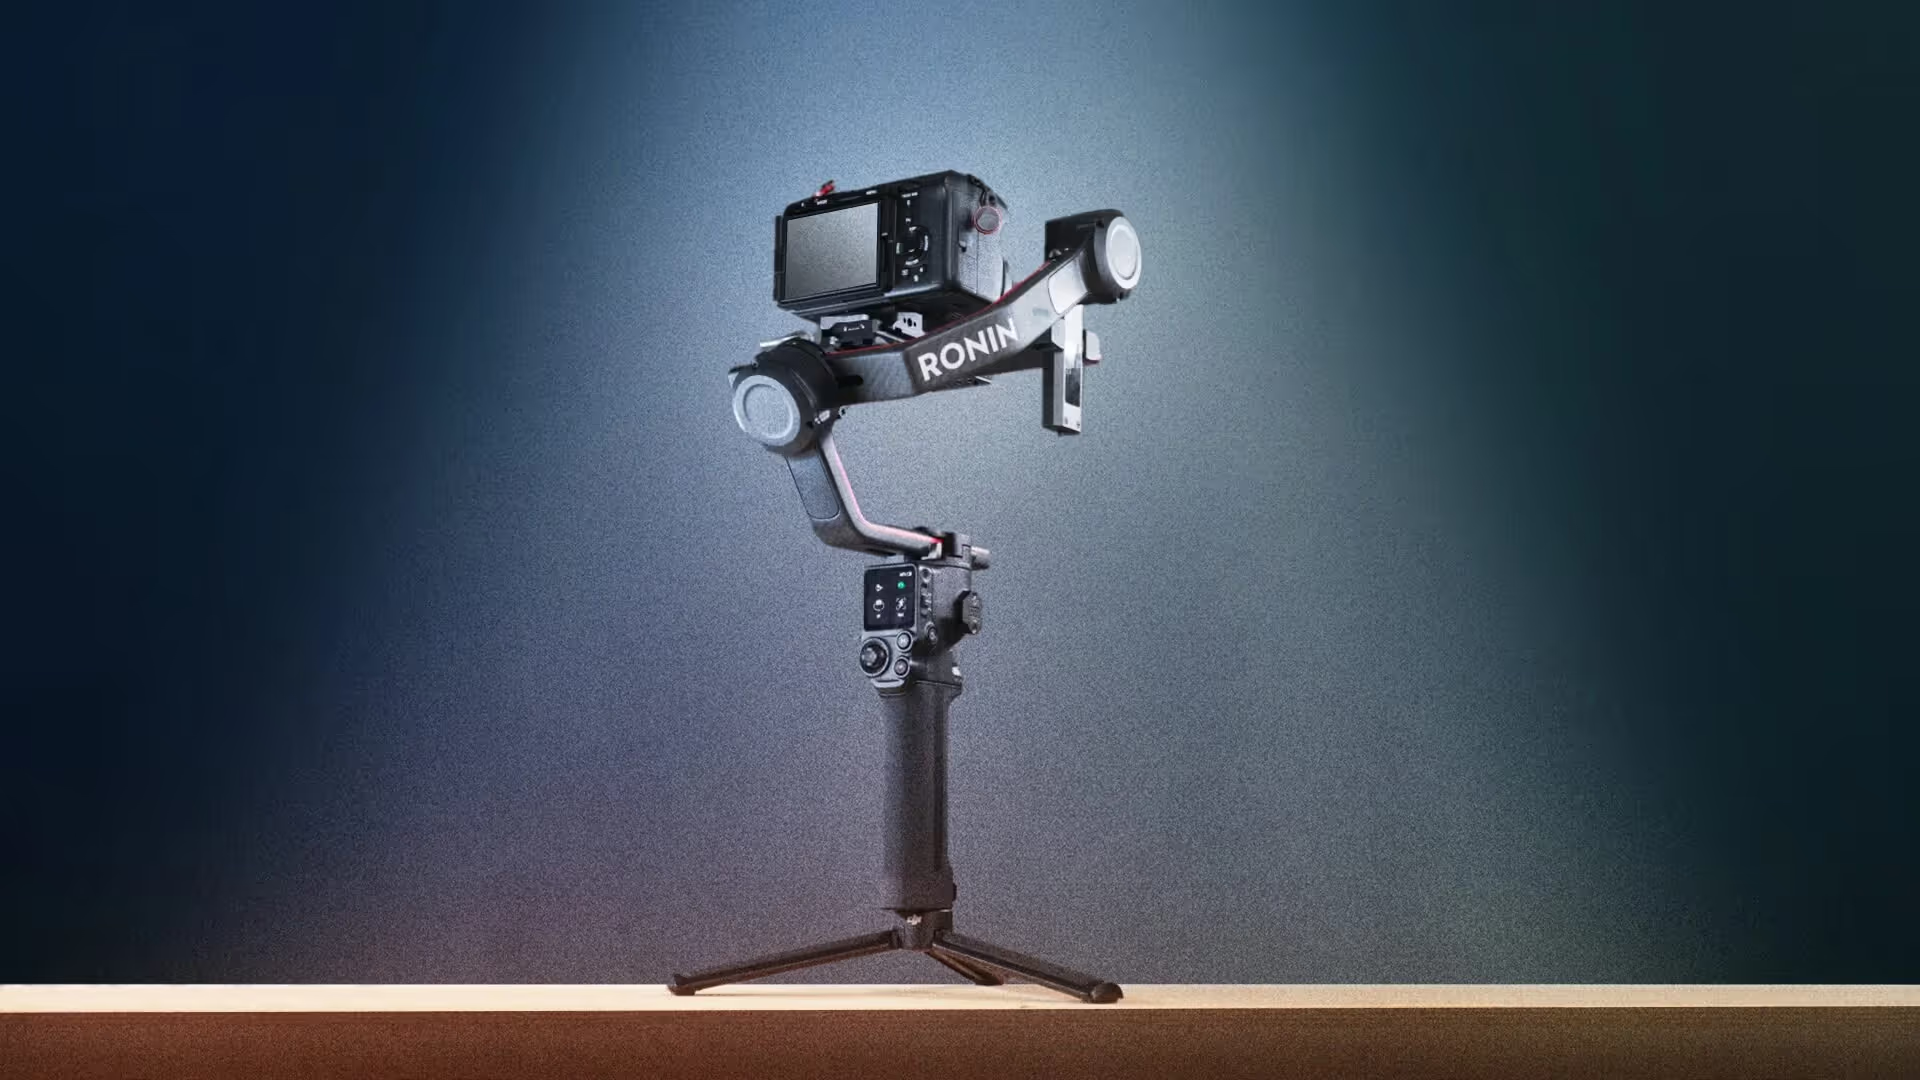
I’ve been using the RS3 Pro on a few shoots and have learned a few things about this gimbal. The RS2 was my favorite gimbal for solo creation, and the RS3 Pro takes the best parts of that gimbal and makes them better.
0. Less is (usually) more
Starting off with a general tip here, when it comes to getting the best performance out of a gimbal, less movement is more, unless your video specifically calls for fast movements to show energy or something.
This is getting more into the theory of gimbals, and not specific to the RS3 Pro, but in my use cases for gimbals, when it comes to gimbal movement, less is typically more. Lots of whip pans and running full speed tend to sacrifice the quality of the stabilization and the framing of your shot regardless of what gimbal you're using. If you’re moving too fast, it might be time to get a friend with a car or even better a truck bed to safely film from.
1. Use The RS3 Pro Automated Gimbal Locks
My first tip for the DJI RS3 Pro is obvious, but one I’m very excited about. It’s to use the automated gimbal locks. You can use either refold and lock or center and lock.
2. Dedicated Follow Mode Switches
Another small, but nice feature is the dedicated follow mode switches on the side of the gimbal. You can still select specific speeds and adjust individual pan, tilt, and roll strengths in the menu, but switching between them is now a physical button which is nice for on-the-fly switching during shoots. I used this more for weddings than I realized, so this was a nice addition.
3. Learn the Follow Mode Switches
Pan Follow vs Pan Tilt Follow vs FPV Mode
This seems like a funny thing to mention about the RS3 Pro, but on my previous gimbal videos/articles, there seemed to be some confusion when to use what mode. And some people just kept their gimbal in one mode the whole time, I think you should understand the difference between Pan Follow, Pan Tilt Follow, and FPV mode. To quickly go over those modes:
Pan follow only uses the pan motor, so the horizon and vertical movement is locked, while the camera can only pan left and right.
Pan tilt follow locks the horizon, but the camera can pan left and right or tilt up and down.
FPV gives you control over the pan, tilt, and roll to give you complete control of your gimbal. This is the most creative mode, and it helps to fine-tune your gimbal settings. I typically turn down the sensitivity of my roll axis but keep the pan and tilt around average speeds.
4. Stronger Motors, But Still Calibrate Your Motors
I could get away with flipping out my screen more with the RS3 Pro than I was with the RS2. I would often balance and calibrate the gimbal with the camera screen closed, but there were times when I needed to flip the screen out to see what I was filming at lower angles. Flipping the screen out on the RS2 would often cause the motors to struggle or make strange jello-like waves on screen after flipping the screen out and causing the gimbal to no longer be in balance. While I’ve only used the RS3 pro for a month, I haven't had any of those vibration issues with flipping out the screen.
5. Use Recenter And Lock If Using The RS3 Pro Inverted
Going back to my first tip about using the auto locks, if you’re rigging this gimbal in inverted mode, make sure you're using recenter and lock for your locking mode. Using fold and lock will cause some issues.
6. Rig Up Your RS3 Pro
I have a video going over the setup of my RS3 Pro on the SmallRig ring. I tried to get the tilta ring for my RS2, but it was constantly back ordered.
If a ring isn’t your style, you can use the twist grip handles to have two handed control of your gimbal. SmallRig has a wireless controller for the dual grip handles that makes controlling the gimbal easier.
Or if you want no handles and a monitor, you can also attach a monitor to your RS3 using a monitor mount.
Or you can use the brief case mount that comes with the gimbal as well.
7. Use Bluetooth to Start and Stop Recording
To control your camera from the RS3 Pro, make sure you're using the correct camera control cable, or if your camera supports it. Use Bluetooth!
To setup Bluetooth control on a Sony camera:
Turn on Bluetooth: Settings, Network, Bluetooth, On
Turn on Bluetooth Remote Control: Network, Transfer/Remote, Bluetooth Remote Control, On
Click Bluetooth icon on RS3 Pro, go back to pairing on your camera, confirm on your gimbal and you can now start and stop recording with your gimbal via bluetooth.
8. Customize the Buttons
You can adjust what the M button does. Lock or unlock the screen, take a photo or activate the LiDar focus if you have that module.
9. Use the RavenEye Without A Phone, Swipe Right on the Screen to Activate ActiveTrack
When it comes to using the RavenEye, it’s good in simple, high-contrast scenarios where movement is minimal and the scene is not rapidly changing. That being said, it’s still not advanced enough to be an autonomous camera operator with no one behind the camera. The RavenEye is best used when you’re actively using the gimbal and need some assistance following a subject. It does a good job if you adjust the settings, I have videos and articles going over this with the RS2, but the nice part is you don’t need to have your phone installed to use the RavenEye, you can activate active track using the screen on the back of the gimbal. It’s more difficult to see, but it keeps the overall bulk of the gimbal down.
10. General Clean Up of the Settings
- Silence the Sounds
- Turn Off Unneeded Features, like 360 Roll
I tried not to overlap too many tips from my RS2 video, which is still a good video to check out if you have the RS3 Pro. There are some good tips in my RS2 Tips & Shortcuts video.
I specifically left out too many active track tips in this video since I’m still doing some testing on that. I’ll make another video about that once I’ve done more testing. I’ll leave a link to my other RS3 Pro or RS2 videos if you’d like to check those out.