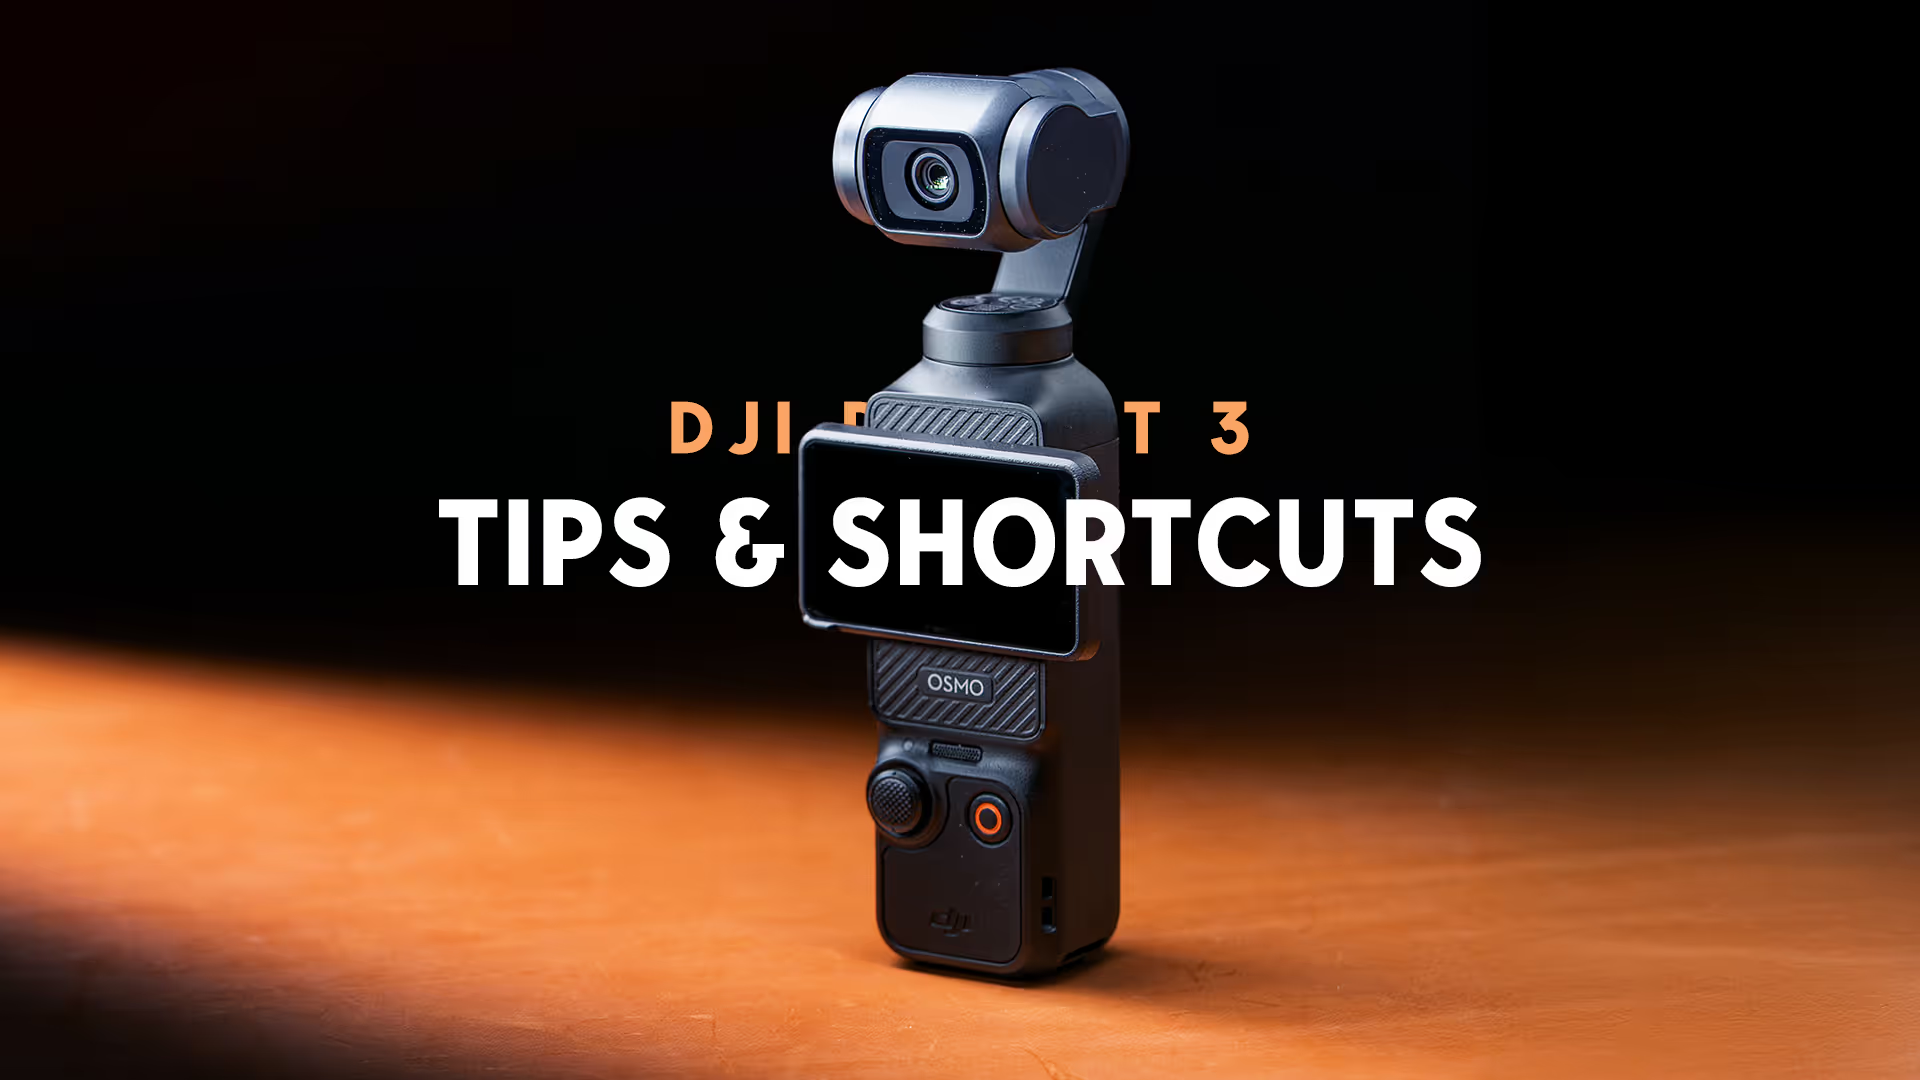
DJI Pocket 3 - 10 Tips, Settings & Shortcuts for Better Shots
This video and article is sponsored by Motion Array.
Get $50 off music, motion graphics and more at Motion Array
I started with the original Osmo Pocket, then the Pocket 2, and now the Pocket 3. Spoiler alert, this one is by far the best.
I use these osmo cameras as my behind the scenes or travel cameras, for everything else I use my bigger cameras. Very quick shots, and thats really where this camera shines in my eyes.
Here are the settings I’ve found to be the most helpful to update and understand to get the best results.
1. Pro Mode
Starting out with the Pocket 3 tips, it’s important to put this camera into PRO mode. This unlocks the ability to manually set the shutter and ISO - you can’t set the aperture, because it’s locked a f/2 on this camera.
After enabling pro mode, then clicking into exposure, allows you to set the shutter speed and ISO, or ISO range. However, even in PRO mode, you can’t put the camera into anything higher than 60 frames per second. If you want any higher, you’ll have to go over to slow mo mode. I wish “Pro” mode allowed us to access all the camera settings from one video mode without needing to switch.
If you use the same settings but find yourself switching between camera modes, saving them as a preset is a way to quickly switch between your go-to shooting settings. I use this with 4k 24 and 4k 120 for slow motion.
Selfie flip and the sounds are turned off by default now, but for some reason Glammour mode is under the PRO mode panel. Idk why anyone would want this in the pro mode panel. I would never use this, although, I probably need all the help I can get.
2. Gimbal is great, but it does not make all movement smooth
The next setting has to do with the gimbal, and this is a general tip here, but while this camera does have a gimbal, the camera is very small and easy to move around to the point where the gimbal cant smooth out the horizontal or vertical movements.
It’s easy to move it around too much and have footage that looks like it’s “floating” or wobbling from side to side.
You still have to keep the camera still while filming to avoid wobbley footage. And in general, the closer you are to something in the frame, the more noticable it is. If you’re far away, this can be less noticable.
3. Learn the Gimbal Modes
Getting more specific about the gimbal, learning the different follow modes will allow you to choose the proper mode for what your shoot calls for. Using the wrong follow mode will give you bad results, so taking a second to learn them will pay off in the long run.
Swiping down from the top and pressing the bottom right icon will get you into the gimbal modes.
Follow allows you to pan and tilt the camera. This is good if you’re trying to keep something in the frame without using active track, you can still pan and tilt the camera.
Tilt-locked mode allows you to keep your horizon line level and pan the camera left and right. Great for walking around, if you want to adjust the tilt you can pedestal up or down, but the horizon will stay locked off.
FPV mode allows the gimbal to move on the pan, tilt and roll axis to follow your movement. When the gimbal is facing forward, recentering the gimbal will recenter horizontal to the horizon line.
The last mode is FPV Perpendicular. This mode functions the same as FPV mode, but when the camera is facing forward, the camera acts like you’re using the screen to film. Like using your phone. The gimbal will always follow what your screen sees, and if you recenter the gimbal, it will recenter based on the screen, not the horizon line.
I use tilt lock and FPV perpendicular the most, but honestly I find myself using active track the most with this camera. So lets get into some ActiveTrack settings.
4. Use ActiveTrack Modes
ActiveTrack is another great feature that is unique to the pocket cameras, but this version is by far the best.
Regular Active Track is pretty good, just double tap a subject and the camera tracks it. Very easy and straight forward. Tap the 5D joystick button to end.
Things get more interesting when you use the ActiveTrack modes, the first one is Auto Face Detect. This is great if you’re putting the camera down and want it to track you while youre moving around. Great if it’s only you in the frame, but if there is someone else, it may jump to the other person.
The mode I really like is Dynamic Framing. This is active track, but you can select where you want to keep the subject on the screen. For me, this is the really cool feature with ActiveTrack. You’re still allowing the camera to track the subject, but it keeps it in them in the same frame.
The last one is spin shot, it’s technically not an active track mode so I don’t know why it’s in this panel, but this just gives you a 90 or 180 degree rotation of your frame. Cool, for a music video or something but I don’t see myself using this one much.
Video and Article Sponsor, Motion Array & Artlist
Before we get into number 5, I’d like to tell you about the sponsor of this video and article, Motion Array.
Motion Array saves you time with tons of editing assets, but today I want to focus on their new LUT’s section.
Here is some footage that was graded using the Motion Array LUT packs. They have a selection of different LUT packs to choose from to help you color grade your image.
They are broken into different LUT packs with different looks, so once you find a pack you like, you can test out a few different looks until you find the one you’re looking for.
They have a range of different LUTs available.
Some of their LUT packs, like the “Movie Looks”, gives your footage a more subtle and filmic look, while their more stylized packs really push your footage to the limit.
Some of my favorits are the Bleeched pack, film stories, and “The Cinematic LUTs”, but there are a ton of different ones to choose from, so you’ll be able to find a look that fits your project.
Motion Array still has their wide selection of Video templates, motion graphics, Footage, Music and sound effects as well.
They also have graphics, photos, and their AI Voiceover feature.
Motion Array also has an automated tool to help automatically clear copyright issues, so you can remove the headache of copyright claims.
To try out Motion Array, you can sign up for a free account to access a small amount of free assets, or subscribe to a monthly or yearly plan for access to their entire library to use in your personal and commercial projects.
If you use the link in my description, you’ll get $50 off when you subscribe today.
Thank you Motion Array, for sponsoring this video.
Get $50 off music, motion graphics and more at Motion Array
5. Get the bundle, the mic pairs instantly and is a huge quality of life upgrade.
Onto number 5 for some audio settings, for me, the bundle with the mic and tripod is worth it. The mic pairs to the camera immediately, the extra battery grip and the tripod are big quality of life imporvements.
If I’m going to set this up to shoot a quick talking head, it doesn’t get faster than turning this camera on, powering on the mic, and pressing record. There is a bit of setup that is required to get this all working though.
Two big settings, the first one is to record backup audio onto the DJI Mic’s internal storage, go into the Pocket 3’s settings, Wireless Mic, then enable Audio-to-video sync. With this selected, you’ll record an audio file to the mic 2 incase you experience any dropouts, you have a safety track on the mic itself.
The next big setting is to enable 32-bit float recording. If any audio is too soft or clips, you’ll be glad you turned this one on. 32-bit float is only on the DJI mic 2, not the internal recording. Keep that in mind.
Great quality of life feature, you can start recording on the Pocket 3 from the DJI mic 2. After these two devices are linked, pressing the link button once will begin recording on the Pocket 3, and since we have the audio-to-video sync enabled, pressing link will also start recording to the internal mic storage.
Extra battery life and tripod is great. Especially if you’re putting this camera down to active track you and remote trigger the recording with the mic. Tripod makes it much more stable than just putting it down on a table, and if you want to use the USBC port while the camera is upright, you’ll have to use the extended battery, since the USBC port is on the bottom.
6. Colors, Normal, vs HLG vs D-Log M
Onto a controversial topic, but choosing the right color option is very important here. Let’s go over them quickly.
D-Log M is the log color profile you’ll want to use if you want to color grade and push your footage. It’s meant to have the widest dynamic range in high-contrast and high color situations. A word of warning here, if you don’t know what you’re doing, don’t bother shooting in log because this is easy to screw up. The footage will look a little off while youre filming. But if you’re brave and want the best image, this is your profile.
HLG is also a wide dynamic range and color gamut, for HLG-compatible TVs or monitors though. I’d stay away from this unless you ahve a specific use case in mind.
Finally, Normal. This is what you see is what you get. If it looks over exposed or under exposed on the screen, it will be. Very beginner friendley and this makes sharing your footage that much faster, because you don’t have to add 900 nodes in davinci resolve to grade this footage. Take it off the card and ship it.
For me, I use normal 90% of the time since this camera is a quick setup and deliver-type camera for me. There are times where I’ll use D-Log M and try out grading this footage, but for the most part I stay in Normal for the simplicity.
On my Sony cameras, S-Log 3 all day, but this camera is a nice, easy, quick camera. So I shoot in Normal on the Pocket 3.
Let me know if I’m wrong in the comments on YouTube.
7. Focus Mode
The next setting is the focus mode, this one can ruin a shot if you don’t choose the correct one.
First up, single. Single sets autofocus once, and doesnt update until you tap the screen again. Use this for still subjects.
Continuous updates autofocus constantly to keep focus on your subject, use this for moving subjects.
Product Showcase Mode will focus on whatever is closest to the camera. If you’re showing something to the camera, use this mode.
8. Use the touch screen, save the app for remote viewing
Number 8, use the touch screen, and save the app for remote viewing.
In the past with the pocket 1 and 2, I’ve mentioned using a phone holder and your phone for a larger screen because the old pocket screens were pretty small. The pocket 3’s screen is a big upgrade here and I find myself using the screen as-is without needing the mimo app as much.
The app is great for remote viewing, but the 2-inch touch screen is a pretty big upgrade from the pocket 2. And it’s really satisfying to turn the camera on by just rotating the screen.
I still use the DJI mimo app, mostly for remote viewing when I’m away from the camera though.
9. Hyperlapse and motionlapse
One of my favorite features of the pocket 3 is definitely still using the camera for motionlapses and hyperlapses.
This is one of the features that really leans into the unique characteristics of the camera, taking advantage of the gimbal, while you don’t have to manually reframe your shots like you do with a normal camera.
Best tips for these modes is focus on keeping this camera stable in these modes. Keeping your camera on a tripod for motion lapses is key, and keeping the camera steady while walking for a hyperlapse will make it turn out much better.
I like to shoot video + jpeg, so I can also assemble the jpegs as an image sequence later. I go into this more in my pocket 1 or 2 video, i’ll leave those at the end of this one.
Also setting your shutter and white balance is important in video mode too, but especially important here since a ton of work goes into these, having your white balance shift here would be a huge pain. Lock the shutter and white balance down before you start shooting.
10. Have the proper expectations for this camera
The last tip before we get into the shortcuts, is the have the proper expectations for this camera.
This camera is different from an action camera, 360 camera, a phone and definitely a mirrorless or cinema camera. I don’t think this camera will remove the need for those other cameras, this is a different kind of camera altogether.
It’s not as rugged as an action camera. It can’t capture everything around it like a 360 camera can, but what is within the frame will be higher quality than a 360 camera. A mirrorless or cinema camera will produce a better image, for a lot of different reasons, but this camera isn’t made to replace your other cameras. It’s truly a unique camera that excels at quick setup time, smooth footage, easy pairing with the microphone, in a small, travel-size footprint.
Links in the Article:
Get $50 off music, motion graphics and more at Motion Array