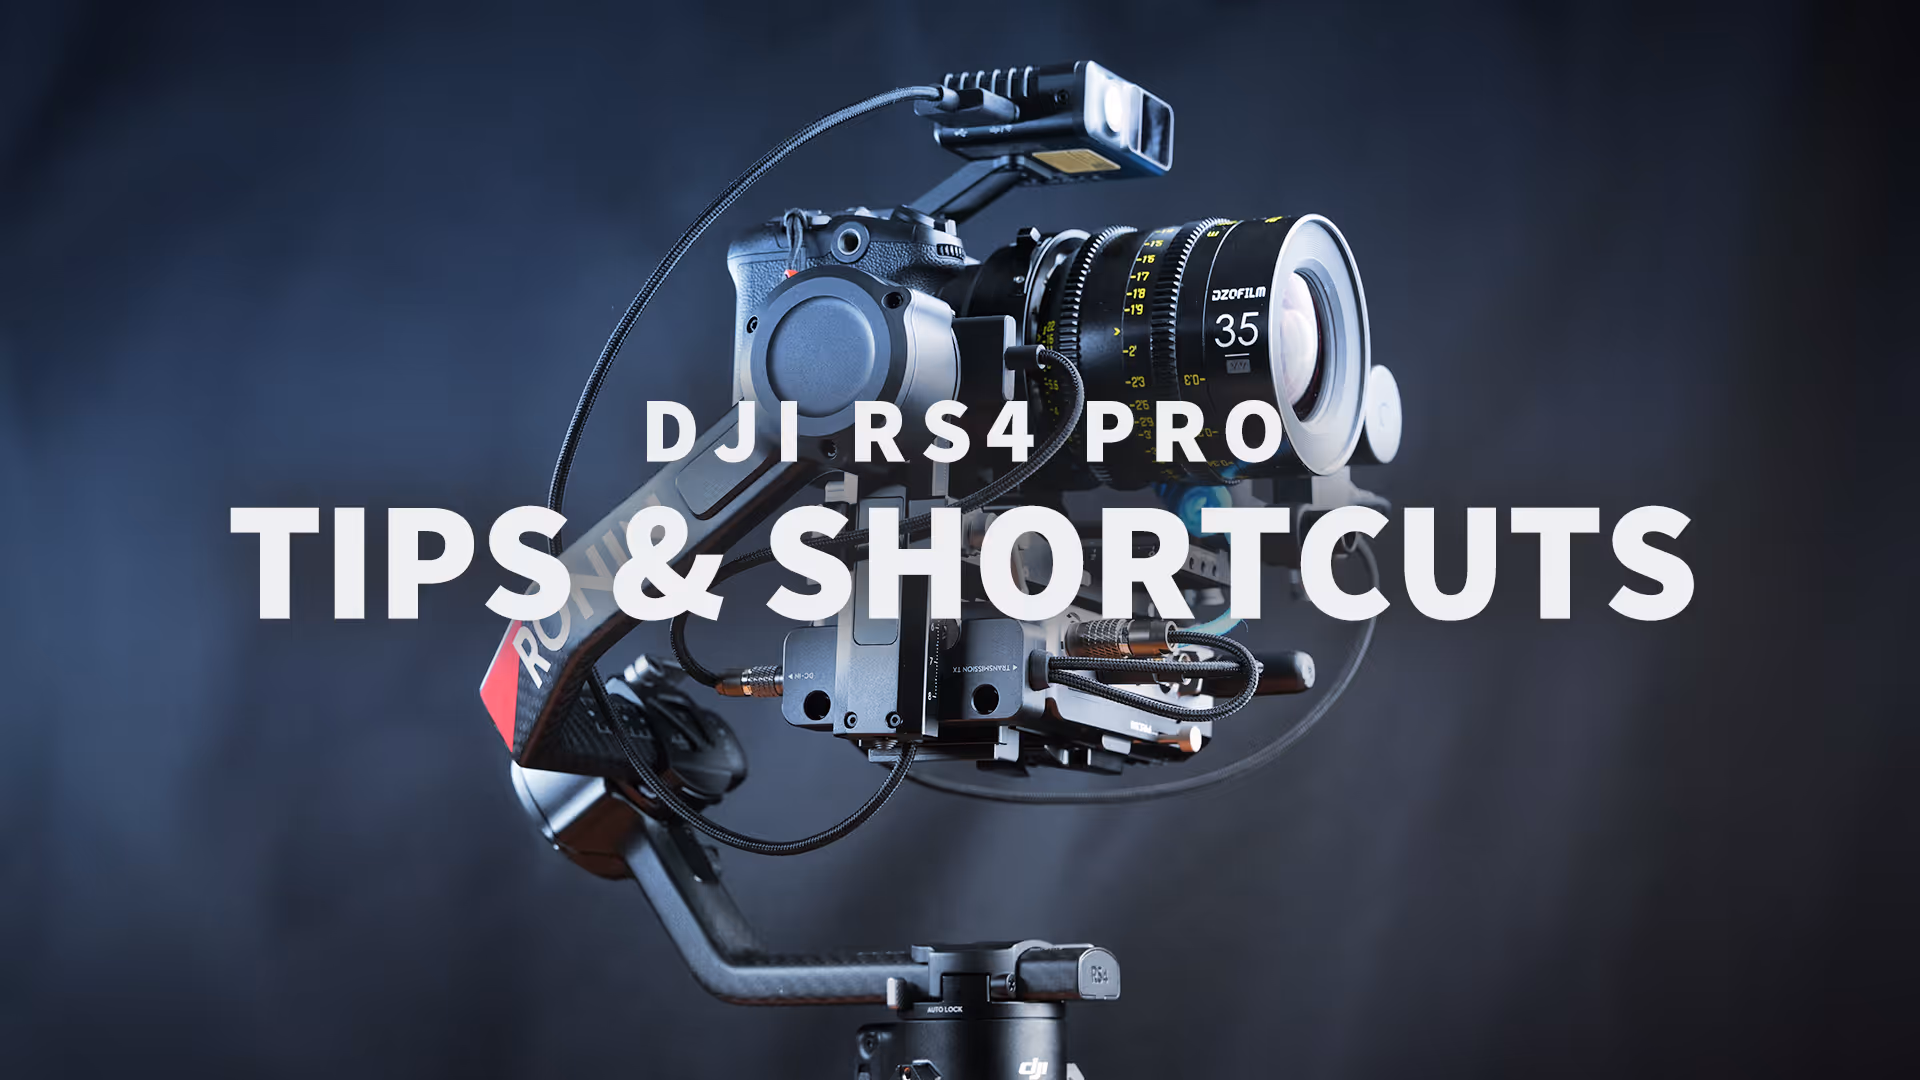
DJI RS4 Pro Tips, Tricks & Shortcuts
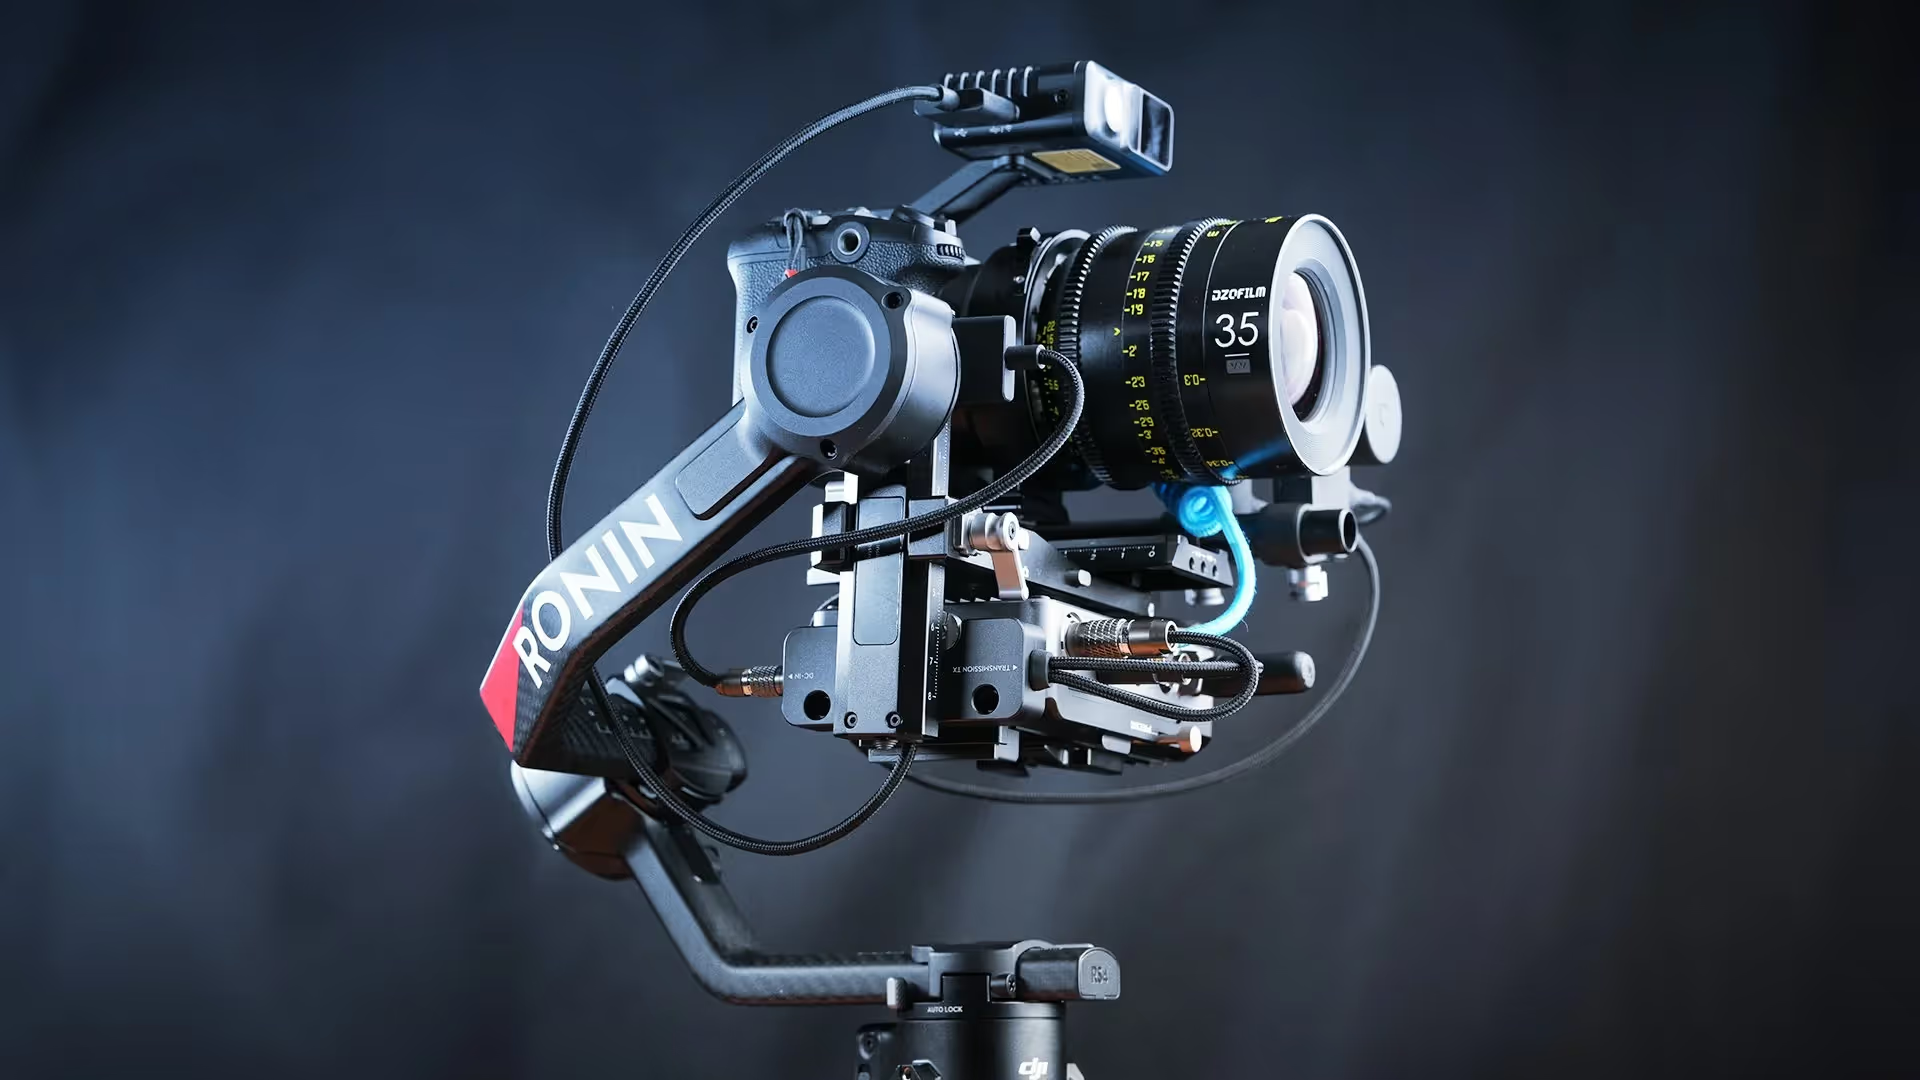
The RS4 Pro is a strong but compact gimbal capable of flying my FX6 with a 27-70 or a cinema lens. After using it to make my review, I’ve learned a lot about this gimbal and have a few opinions about how to get the best image with the RS4 Pro.
First we’ll go over some tips, then we’ll get into some shortcuts.
0. Update the firmware
First up, and I’m not going to count this as a tip, but it’s to update the firmware. This is a boring tip, but absolutely necessary to take some time to set everything up. And if you update the firmware on one device, other devices may have an update too - so check that. If you’re having issues, check if there is an update.
Another thing to note, turn everything off after updating the firmware, and power back on. The gimbal checks for inconsistent firmware when the gimbal starts, but if you plug in a device after it’s started, it may not check for those updates. I ran into this with a focus motor, it still worked fine - but something to note.
1. Calibrate & Balance
The first real tip is to balance the gimbal and calibrate the motors if you add anything.
The motors are 20% stronger than the RS3 Pro, but with all of the accessories you’ll be putting on this, you’ll need to make sure you’re properly balanced to get the best results.
After your gimbal is showing green on the balance, make sure to run a calibration.
The more you rig up this gimbal, the more you need to check balance and recalibrate
2. Learn the Follow Settings
The next tip is to learn the follow settings and adjust the sensitivity. Take the time to learn the Pan, Pan Follow, and FPV settings. Learning them is easy, but taking the time to dial in your sensitivity of each axis is more time-consuming, but it will allow you to get better shots.
For example, in FPV mode, my pan axis is typically the highest. My tilt axis is lower, and my roll axis is the lowest. However, if a shot calls for the world to be spinning, I know I need to crank up the roll axis and probably turn down the tilt and pan.
Taking the time to experiment with these settings will pay off when it comes to shoot day, and you know exactly which settings to update based on your shot needs.

3. Get the right accessories for the DJI RS4 Pro
My next tip is to know which accessories you need, which ones you just want, then which you don't need at all. I was initially going to include all of the accessories in the video, but the list got too long, so I decided to break this out into it’s own video. Will leave that video at the end and in the description, but having the right accessories to use with this gimbal will make your life easier, and shots better.
4. Swap between horizontal and vertical shooting modes
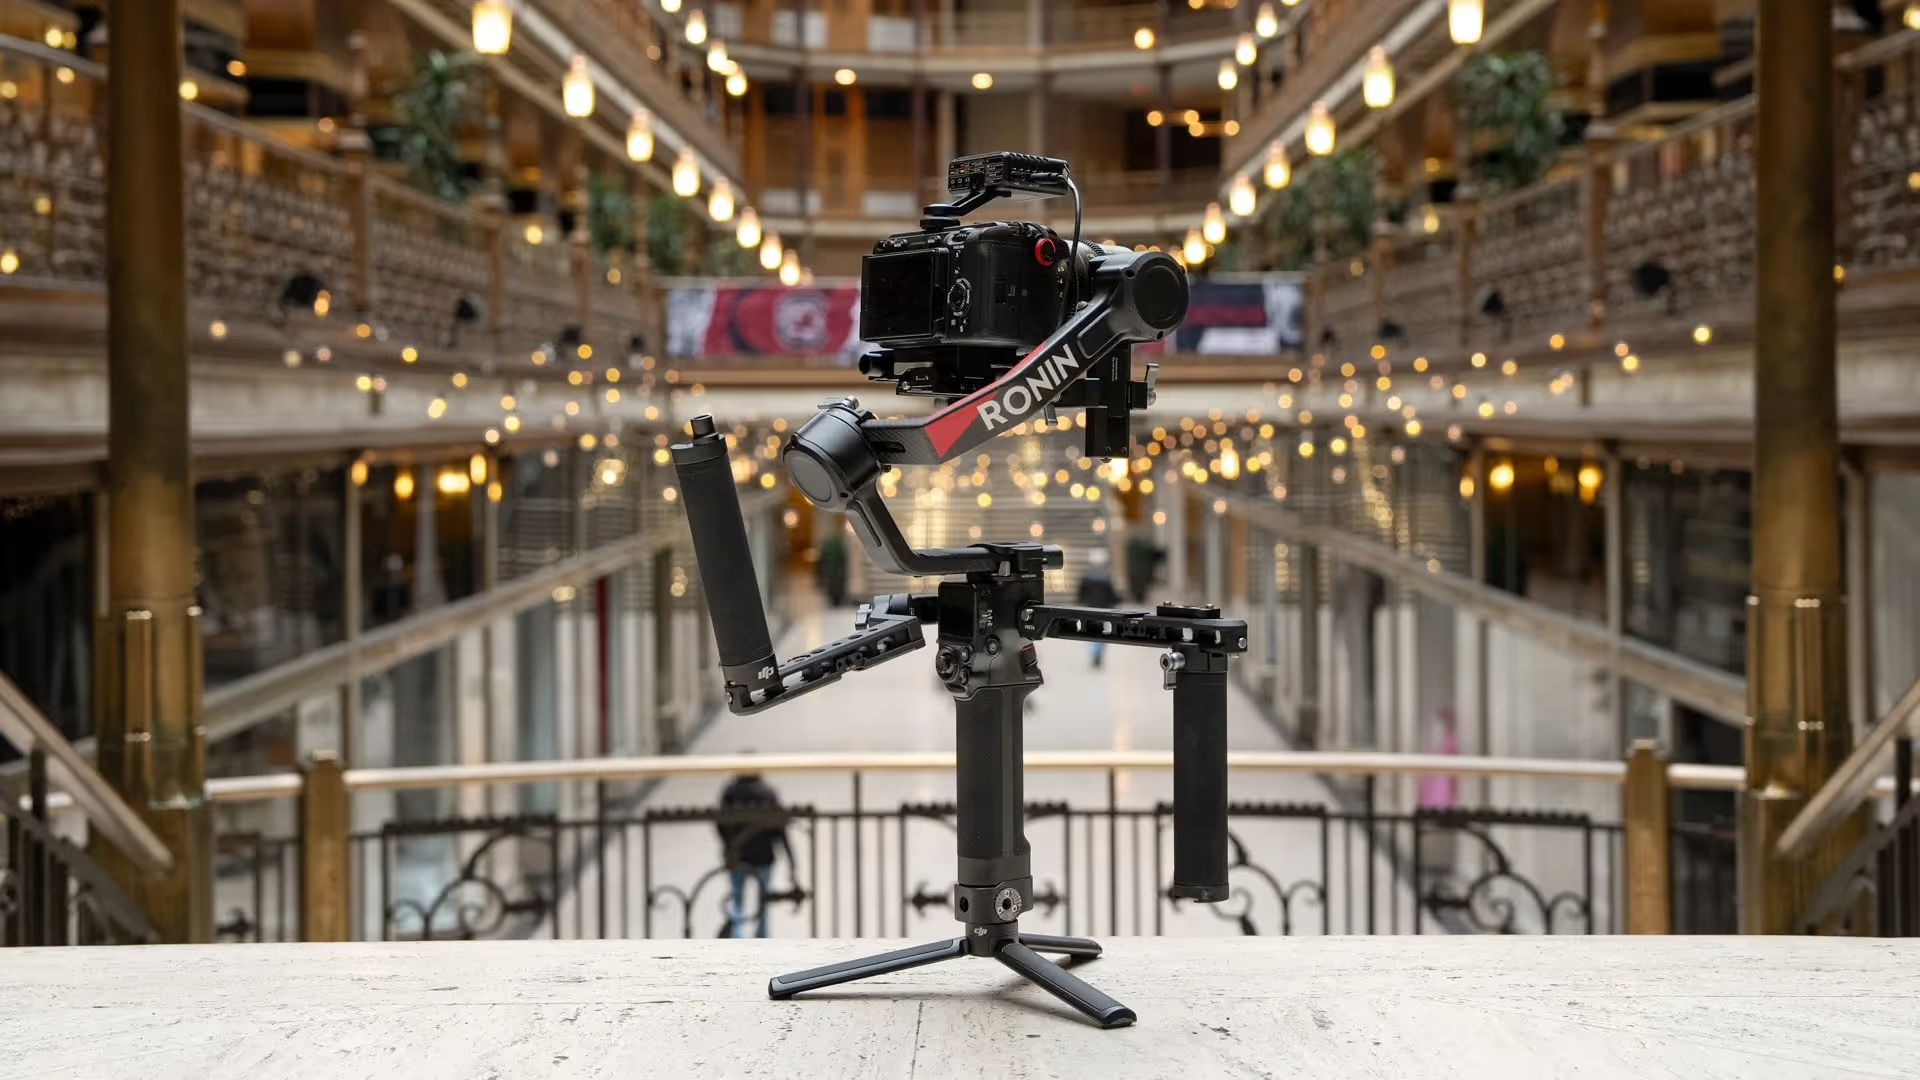
The next tip is to know how to swap between horizontal and vertical shooting modes. The RS4 Pro’s support plate allows you to quickly swap between horizontal and vertical shooting modes, on smaller builds like my FX3 with a small prime, I can balance the tilt axis, recalibrate and be ready to go quickly. You could probably get away without rebalancing or recalibrating, but you’ll be putting the motors under more stress and probably not getting the best results.
For larger setups, like an FX6, you’ll have to rebalance and recalibrate for sure.
Even with the rebalancing and recalibrating, this new plate is significantly faster than the old way of sliding your camera out and attaching a plate to the side. Moving the plate is much easier and faster.
5. Setup Bluetooth recording
This next tip is a nice quality of life upgrade, but it’s to setup Bluetooth recording. You’ll be able to start and stop your camera without using a camera control cable here. And you can half press the shutter button to use autofocus. More on this in the shortcuts part of the video.
6. Know the limitations of the RavenEye, but it’s great for certain things
My next tip is to use the RavenEye, but understand it’s limitations.
It’s great for remote viewing, quick adjustments of the gimbal. You can use the gyroscope to track the gimbal movements based on your phones movements which is pretty cool if you need that. You can start active track, but it can be tricked in low contrast scenes or if your subject is moving too quickly.
It does allow for some camera control if you’re using the right cables and your camera supports it, but the camera control is pretty limited to basic camera settings.
The range is alright, but it uses your phones connection, so you have to be within a cellphones wifi signal range to be able to use theRravenEye.
7. Use the DJI Transmission if you need more features
If you find yourself wanting more features than the RavenEye can provide, thats where the DJI Transmission comes in. It’s a steep price increase over the RavenEye, but it also has an incredible amount of features, and the DJI transmission is a much stronger signal than your phone's wifi.
When it comes to teams, handing a monitor or follow focus to a team member to help control the gimbal will make your life as the gimbal operator easier since you're not trying to do so many things at once. And if you’re using the LiDAR module and focus motors, the 1st AC has a lot of control to help you adjust settings, and use the LiDAR depth map for keeping things in focus.
There are some very large differences between the RavenEye and the DJI Transmission, but to oversimplify the answer, if you need a reliable director's monitor or you have a first AC helping you operate the camera, the DJI Transmission’s integration to the RS4 Pro is a fantastic addition to this kit. If you're a solo operator who just needs a feed and is very close to the camera, the RavenEye will work just fine. And the RavenEye is included in the RS4 Pro kit.
This probably deserves it’s own video, if youre interested in know more about this let me know in the comments.
8. Use recenter and lock for your on/off lock settings
The next tip is to use the auto locks, but know which settings to use. Since DJI introduced auto locks on the RS3, fold and lock has been the cool way to turn off your gimbal but if you have heavy setups, or more importantly, if you get in a weird situation with your gimbal, like trying to go into underslung mode, but then get out of it wrong by swinging the camera the wrong way, you could be in a weird situation. If you have your gimbal set to recenter and lock, the RS4 is smart enough to re-orient itself back to the correct position. Using fold and lock, the gimbal takes it’s best guess and what is right side up when it comes to folding and locking. This is more important it youre using your gimbal on a car mount in underslung mode by default.
I wouldn’t use fully fold and lock unless your using a really light setup like the FX3 and a prime, since heavier setups make you extend the arms farther out to properly balance the camera, the gimbal doesn't know that the arms are extended out and will knock into the other arms when fully folding. Not sure if this is actually causing damage to the arms, but I don’t want to find out.
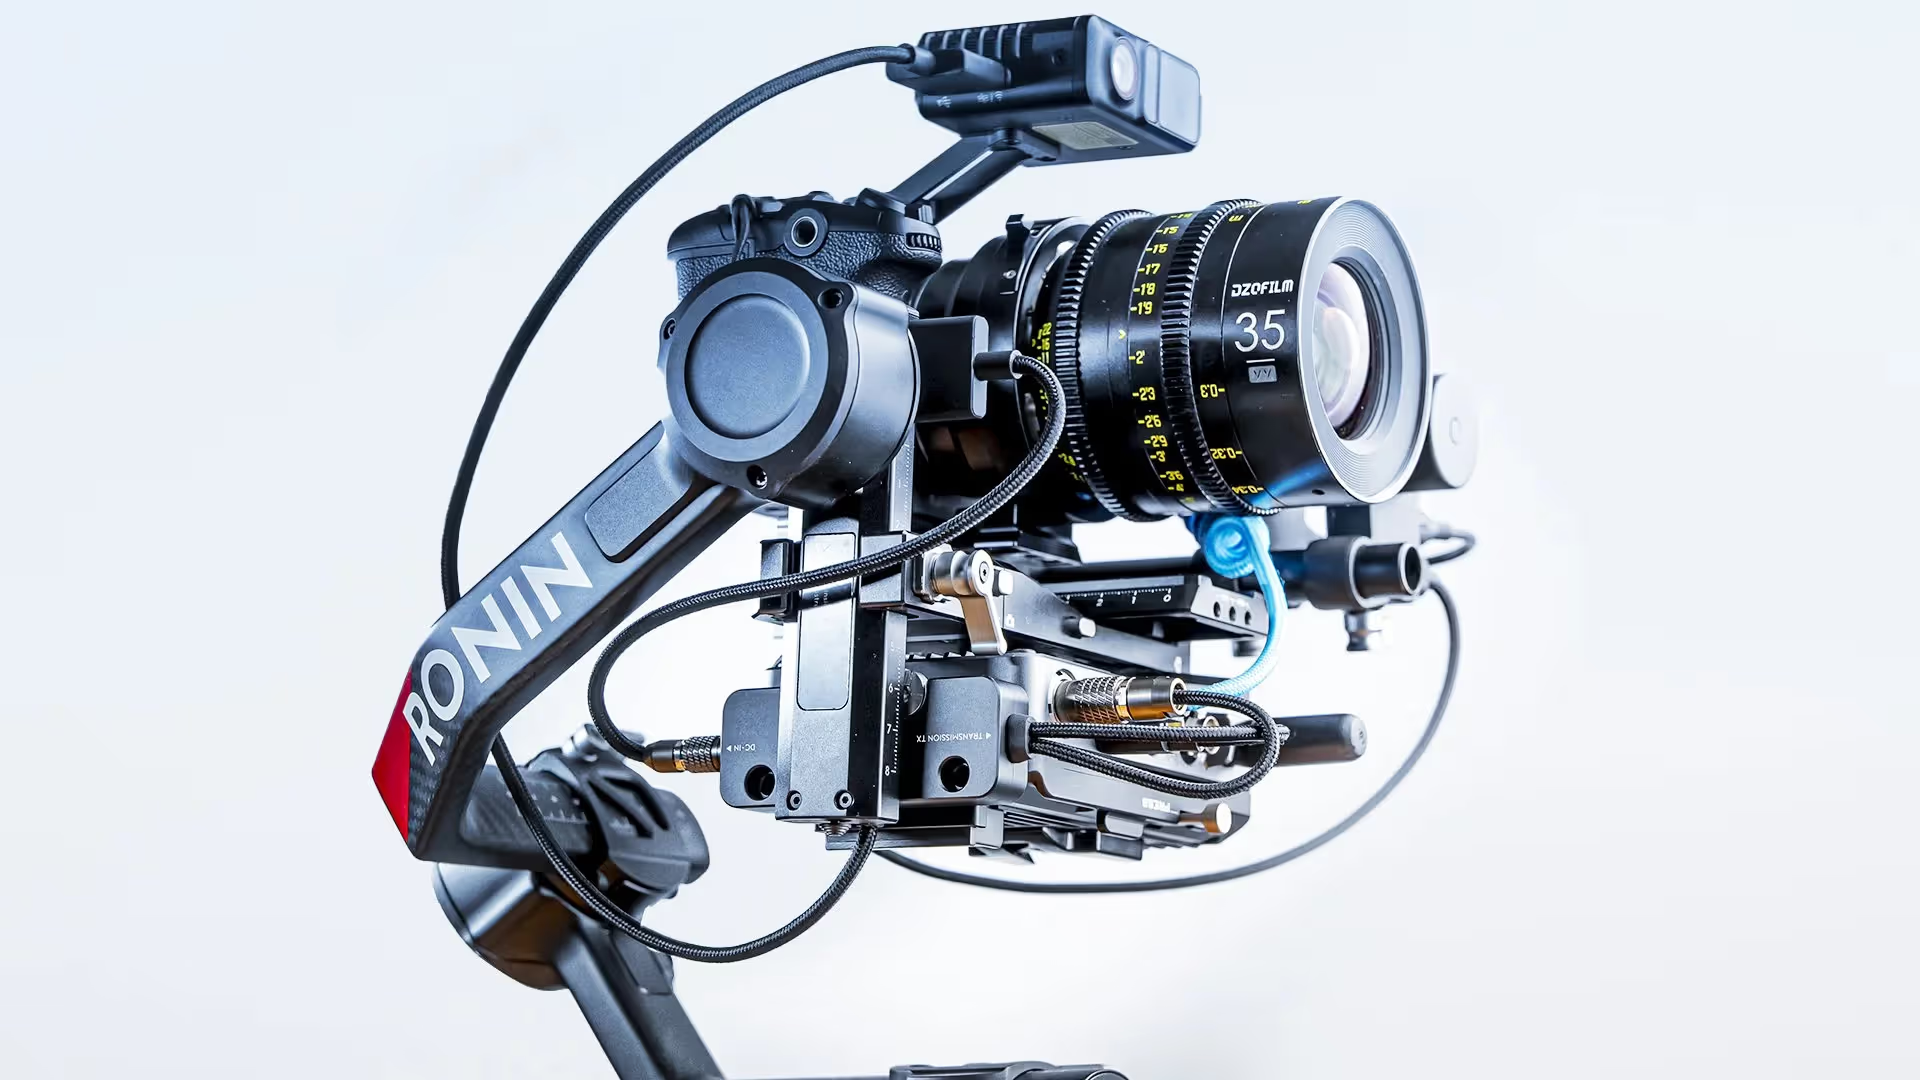
The RS4 has a lot of accessories available, and there are a lot of cables involved with all of the parts.
9. Adjust the display settings
The next tip is the adjust the display settings. New to the RS4 are the display settings. If you do touch the screen for 30 seconds to 2 minutes, the screen will go into sleep mode. This helps preserve the battery life and avoid accidentally adjusting settings, but the default is 30 seconds and I found myself constantly unlocking the screen after making an adjustment. I set this to 2 minutes.
I’d also love the option to be able to turn this completely off. In some scenarios, I could see this being helpful, but if I’m in the middle of a shoot and need to adjust a setting quickly, unlocking the screen is just another thing I have to do. Very nit-picky, but I would love to see that.
10. Pay attention to your cable management
My next tip is to pay attention to your cable management, especially if you’re using multiple accessories and daisy chaining focus motors together, there can be a lot of cables coming off of this gimbal. Not only does it look bad, but you could possibly snag a cable on something when your filming and ruin a shot or damage your camera. Taking your time when setting this up and putting some thought into the cable management can help your shoots go smoother, and your rig wont look like a rats nest.
11. Customize your M Button
I’ll get into shortcuts in a second, but a bonus tip here, customize what your M button does on the gimbal. If you paired your camera with bluetooth, you can map the M button to your Custom button 1, which is pretty cool. Or if you have the LiDAR, you can use it to toggle auto focus and manual focus on your LiDAR. Thats the one I use, but if I’m not using LiDAR, mapping M to C1 on your camera is pretty awesome. I wouldn’t use this on the photo setting, because the record button is right below it and thats what the record button does.
Learn the Shortcuts to Save Time Between Shots
Now it’s time to quickly go through the shortcuts for the RS4 Pro. If you don’t know how to quickly access the different pages or just need a little refresher, this next part of the video is for you.
The time between shots takes way longer than the shots themselves, with camera settings, directing the talent, and knowing the gimbal settings. Knowing how to quickly navigate your gimbal to get to the proper settings is a huge time saver and people will think you know what your doing.
Shortcuts - Buttons
Power Button
Pressing once locks the gimbal motors
Pressing again turns them on
Holding it turns the gimbal on or off
Gimbal Mode Switch
Toggle between Pan, Pan and Tilt and FPV follow modes
M Button
The M button is a custom button, I just went over in tip 11 that this is my lidar af/mf button.
Holding this down enters Sport mode where the gimbal is more responsive to your movements.
Holding M while double tapping the trigger will keep the gimbal in sport mode, until you repeat those steps to take it out of sport mode.
Holding the M button and trigger will start an auto tune calibration - this one is especially handy for shoot days when I want to avoid going through the menus to start a calibration.
Camera control button
Short-press to use autofocus.
Press to start/stop recording or take a photo
When using lidar, half pressing locks the autofocus point, and when you release, the lidar af is enabled
Trigger
Press and hold to enter lock mode.
Pressing the trigger and tapping the screen will keep the gimbal in lock mode.
Double tapping to recenter the gimbal
If you have the LiDar or RavenEye attached, pressing the trigger once will start activetrack.
Front Dial
You can customize the front dial in the screens I’ll go over in a second, but I mapped mine to adjust the focus motor.
Shortcuts - Screen
Swipe Down
Swiping down takes us to the control center screen. Here you can adjust your display settings or manage bluetooth. You can adjust your focus motor end points or remotely calibrate your gimbal motors. Here is where you have your general settings as well.
I disabled selfie mode, set auto lock to recenter and lock, turned on silent mode. If your horizons are off, you can start a horizon calibration, start a gimbal auto check or check the gimbal versions.
Swipe Right
Swiping from the right side is the create screen, allowing you to set up a timelapse, tracking shot, or panorama.
Swipe Left
Swiping from the left is the LiDAR and image transmission feed, I typically am using the gimbal with LiDAR, so this is where I’ll setup my LiDAR focus mode, lens calibrations and more.
Swipe Up
Swipe up to get the gimbal settings screen. Here you can adjust the joystick and dial settings. Or customize the M button, trigger and focus motor torque.
USB-C Ports
For the USB-C ports on the front of the RS4 Pro, they’ve changed around a bit from the RS3. The camera control port is now on the back of the gimbal arm, and the front has two ports. The top is for the focus motors, and the bottom is for the image transmission or LiDAR. This makes it a little easier for my brain to remember which cable goes where.
Conclusion
The RS4 Pro is a powerful gimbal with a lot of accessories. The beauty of this gimbal is that it can be as rigged out or as minimal as you need it to be for your shoot. It doesn't get faster than putting a small camera with autofocus lenses on this gimbal. But if your working with a team, you can use this same gimbal to have a 1st ac pulling focus for you, and a director monitoring the feed as well.
I’ll be making more RS4 Pro videos and if you have anything you’d like to see, let me know in the comments down below. Here is a link to the RS4 Pro accessories video, or even more videos in my Ronin playlist. Thanks for sticking around until the end, and I’ll see you in the next one.