Hexcal Studio Review | A Desk Setup You've Never Heard Of
I’ve worked at a desk with a computer for most of my life. From dial-up windows 98, to the latest apple silicon chips, and I’ve always tried to design my workspace to be the most productive place possible.
When I came across the Hexcal workstation, I was interested in the cable management, charging, and light bar for working at night. Hexcal reached out to me to see if I would like to review one of their studios, but they are not seeing it before it goes live. And all words are my own.
Let's go over the pros and cons of the Hexcal workstation and I’ll tell you what I think at the end.
Hexcal Studio Pros
The charging capacity
One of the main Pros of this workstation is its charging capacity. The studio has 8 AC outlets on the back that are spaced so you can use all of the outlets, even if the power bricks are larger than normal.
On the bottom left side of the studio, there are 3 USB A ports and one USBC port.
One USB A is a quick charge port and the USB C is 9 volt, 3 amp power delivery port.
I’ve been using the USB C port to power my MacBook Pro or power my Sony cameras while live streaming. I have a whole video going over the different power options for Sony cameras, and if you’ve seen that video, you’ll know how much I love 9V 3A power delivery ports. Weird, I know. I’ll go over the other two USB A ports in a second.
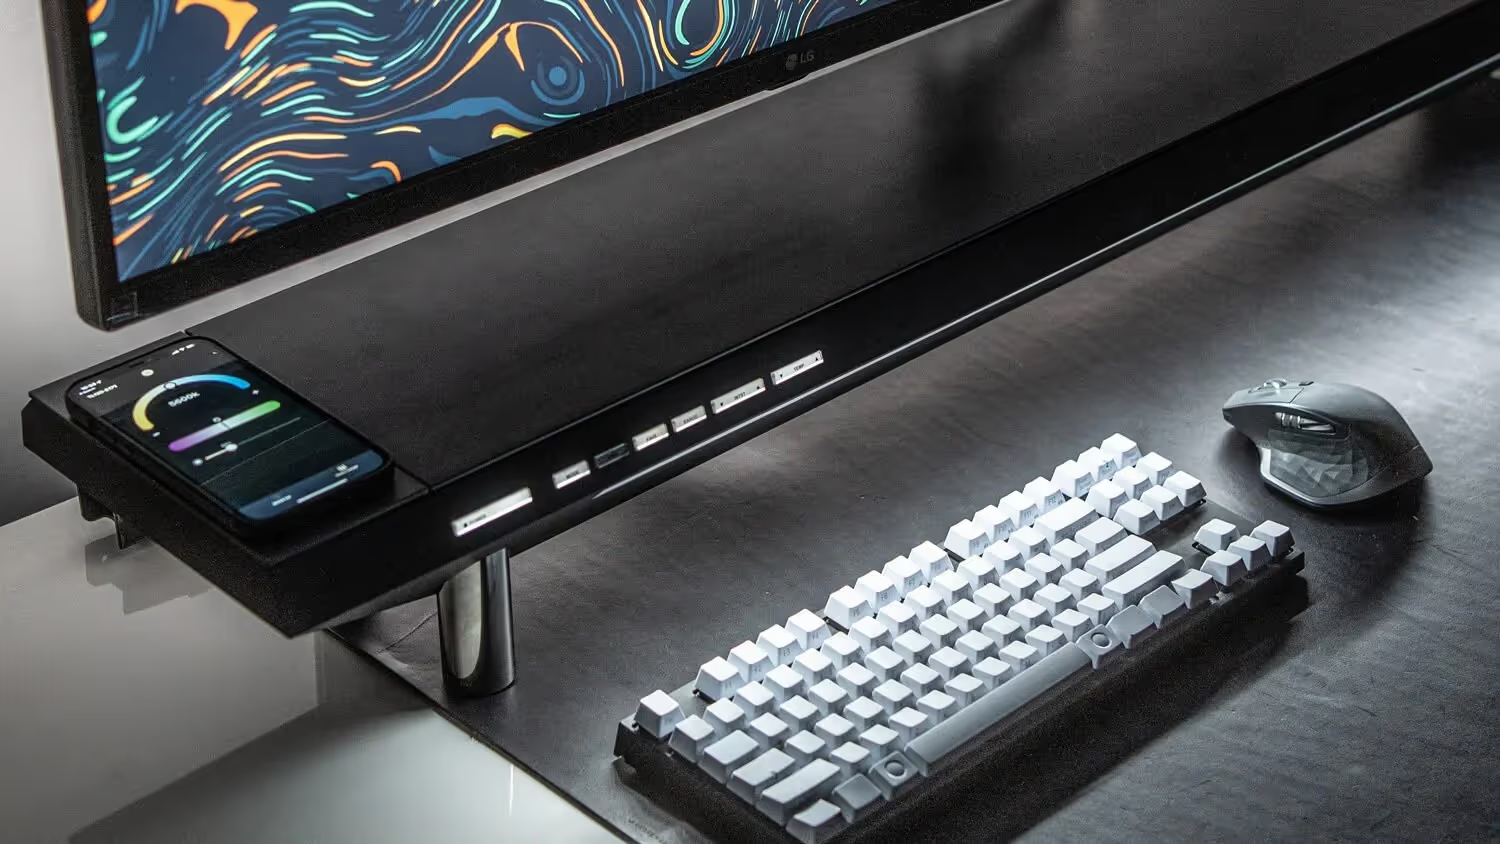
On the top left of the studio, there is a wireless charging pad built directly into the top. You’re able to charge two different devices at the same time, I’ve use it to charge my Pro Max iPhone and AirPods Pros at the same time. I love the clean look of this being built into the side of this, and not needing another cable to run a wireless charger onto my desk.
There is also a power supply rated at 1,440 watts that regulates all of the power to the outlets and ports. If a power surge happens, the power supply will trip it’s breaker to protect all of your devices. You can reset the circuit breaker on the studio to safely restore power to your devices if that happens.
Conceal Hard Drives
Going back to the two USB A ports on the left side, these are internal pass-through ports that allow you to keep an external hard drive inside of the studio and connect to your computer using one of the USB ports on the outside. Nice to keep your hard drives concealed out of sight, wish it also supported USB C for the fastest speeds but love that you can hide hard drives and easily access them if needed.
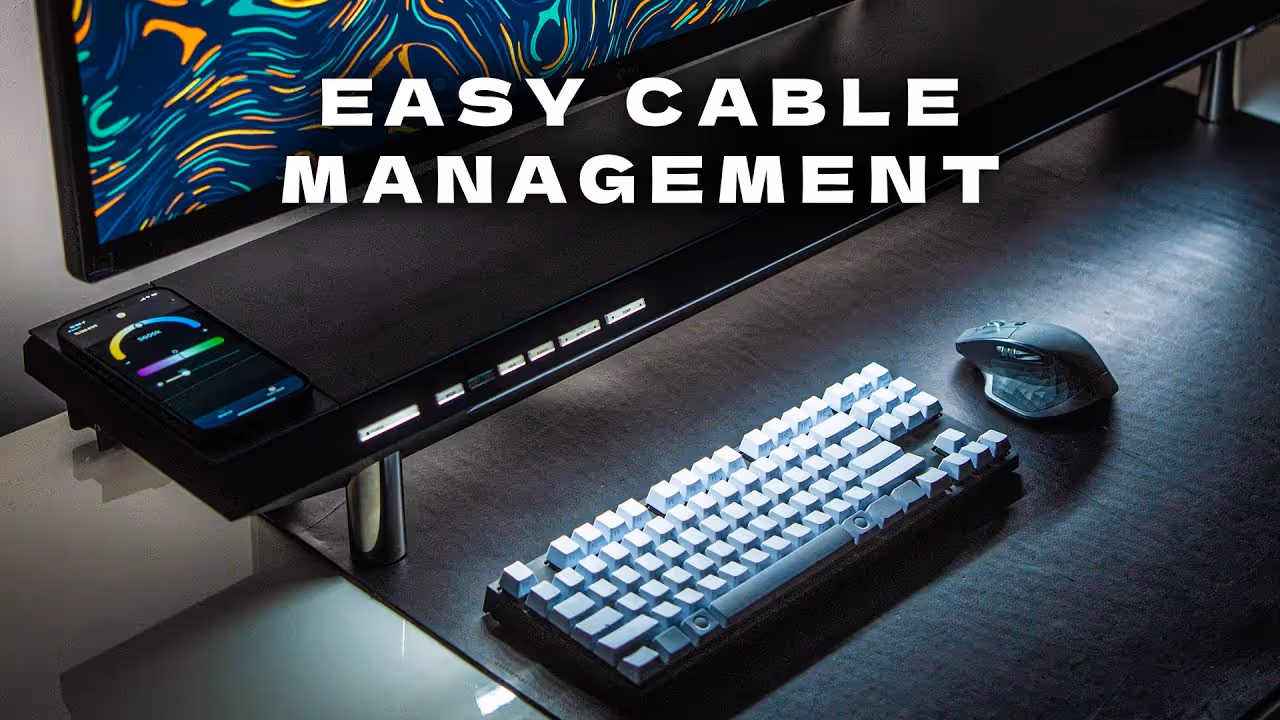
Cable Management
Another feature of the studio is built-in cable management. If you have a ton of stuff on or under your desk that you need to cable manage, this is a huge plus. I have a lot of things plugged in on my desk, and also charge a lot of batteries so I have a lot of cables all over my desk, but I’ve been keeping the excess cables in the studio. Using the cable management channels, only putting out as much cable as I need keeps everything nice and tidy. The cable management channels keep a really snug connection so the cables won't easily slide out.
Since the Studio itself is powered, and you use the outlets and USB ports to plug in all of your other devices from there. You’re not plugging in things under your desk, then routing them up to your desk, all of the plugs and extra cables are on the back or inside of the studio. It’s been an easy way to force myself to have a cleaner desk.
Light
Moving onto the light on the studio, there is a 39-inch light bar on the front. This light bar gives off diffused light to help with eye strain when working in low light conditions for hours at a time. It can change brightness, color temperature, and range of light it throws off. You can customize the light and save multiple brightness and color temperatures.
I’ve used light bars that hang onto your monitor and cast light down to your keyboard before, but that is another wire and if your monitor is too high, you’re looking at a light bar above your monitor that is supposed to eliminate eye strain but ends up causing more if you see the light. The lightbar being closer to where the light is shining makes sense for a device like this and eliminates the need for a lamp on your desk too.
One note about the light for video, if you’re shooting at a shutter speed higher than 1/50th, you’re likely to see some flickering from this light. In my testing, 120, 60, and 30p all showed some flickering when sticking to the 180-degree shutter rule. Kind of an edge case scenario, but worth noting here.
The Craftsmanship & Design
The build of the studio is very sturdy and well thought out. It's a solid piece of aircraft-grade aluminum with stainless steel legs. Can handle up to 100lbs, so it can support the heaviest monitors and accessories with ease. Latches and lid feel are strong without any play in the parts.
There device ships with shorter legs installed, but if you need more clearance for your keyboard or mouse, there are included riders that raise the studio another inch and a quarter. The higher legs are stored in a hidden compartment and screwed into the studio.
Hexcal Studio Cons
When it comes to cons for the studio, one main downside came to mind, and there were a few small annoyances.
The cost
My first and biggest con of the Studio is unsurprisingly the cost, coming in at $899 USD. This is a very premium product with lots of features and premium materials so I understand the premium price tag, but this is going to be the one thing that people will have a hard time with. Again, this is a very specialized workstation so if you’re willing to drop a few hundred dollars on a mechanical keyboard, spec out a computer or care about aesthetics this is probably less of a con for you.
It is a premium product that takes the place of many other products, but in a very clean way with a focus on aesthetics.
For average users though, I can see this being the toughest pill to swallow when it comes to the studio.
Removing the Lid with Things on the Top
A small con for the studio, if you have a monitor and other things on top, but need to get inside of the studio, you’ll have to take your monitor off to remove the lid to get inside.
I already had my monitor on a monitor arm, so this isn’t a big deal for me but if you don't use monitor arms, this is something to keep in mind.
The Height Without the Feet
This is a pretty picky negative, but the bottom of the studio is a little shallow if you’re not using it with the feet. I can fit my lower-profile mechanical keyboards under it like my varmilo VB87M, but higher profile mechanical keyboards like my Kira or my MX master mouse won't fit entirely under it without the higher feet. Again, there are included feet where it will fit so you can make it work and this is pretty nit picky, but this is a pretty premium workstation so I thought I’d mention it.
My Thoughts
The Hexcal studio is a premium product, with a premium price tag to go along with it. I’ve enjoyed using it as I really find it difficult to keep things tidy when I have to charge so many things all the time. It’s not uncommon for me to have 5 or 6 different chargers during the week for all my devices, so having them always plugged in and neatly routed is something I’ve been enjoying.
The light bar is another part I’ve been using a lot as well. The customizable color temperature and brightness has been awesome. Bright white light during the day, and using my saved favorites, a warmer and softer light is one button press away.
The overall aesthetic is something I’ve liked as well. It’s sleek, without being overbearing with RGB or colors that stand out. It’s one of the first things people point out when they come to my office.
I wish the pass through ports had one USB C and one USB A port, but if I’m using my MacBook pro or air, I’ve been using a hub for wired internet and that has USB A ports on it.
I’d love if there was a USB C hub integrated into this somehow, maybe a standalone device that sits on the left side of the studio. Able to plug in monitors, ethernet, USB, SD cards, and power so I’d only have one USB C cable running from my studio to my MacBook pro.