These Will Save You HOURS of Editing: Tentacle Sync Workflow

Tentacle Sync Track E & Sync E Timecode Workflow with Sony Cinema Cameras
Lets shoot with a bunch of different cameras and a wireless lav, then sync them all up like magic. What used to take an hour and a glass of whiskey, now takes… that long. You can still drink the whiskey, just while you're editing instead of assembling.
I’m shooting with Sony cameras, and with the latest FX3 firmware update, we can use a timecode out of the multi-port, instead of jam-syncing timecode with the audio port. Using the multi-port, the camera will display the correct timecode in camera and bake that into the metadata of each clip, and so you don’t accidentally deafen yourself while editing.
Let's go over my timecode workflow from start to finish of using my FX6, 3, and 30 while using a wireless lav as well.
Pre-setup
Before we set up the Tentacle Sync Sync E or Track E, we’ll need the Tentacle Sync app. You can technically sync all devices by linking them together with USBC to sync, but that's a pain in the butt. The app is much easier and has a lot of nice features.
After opening the app, you’ll turn on all your devices, connect, and name them, and then the fun part starts.
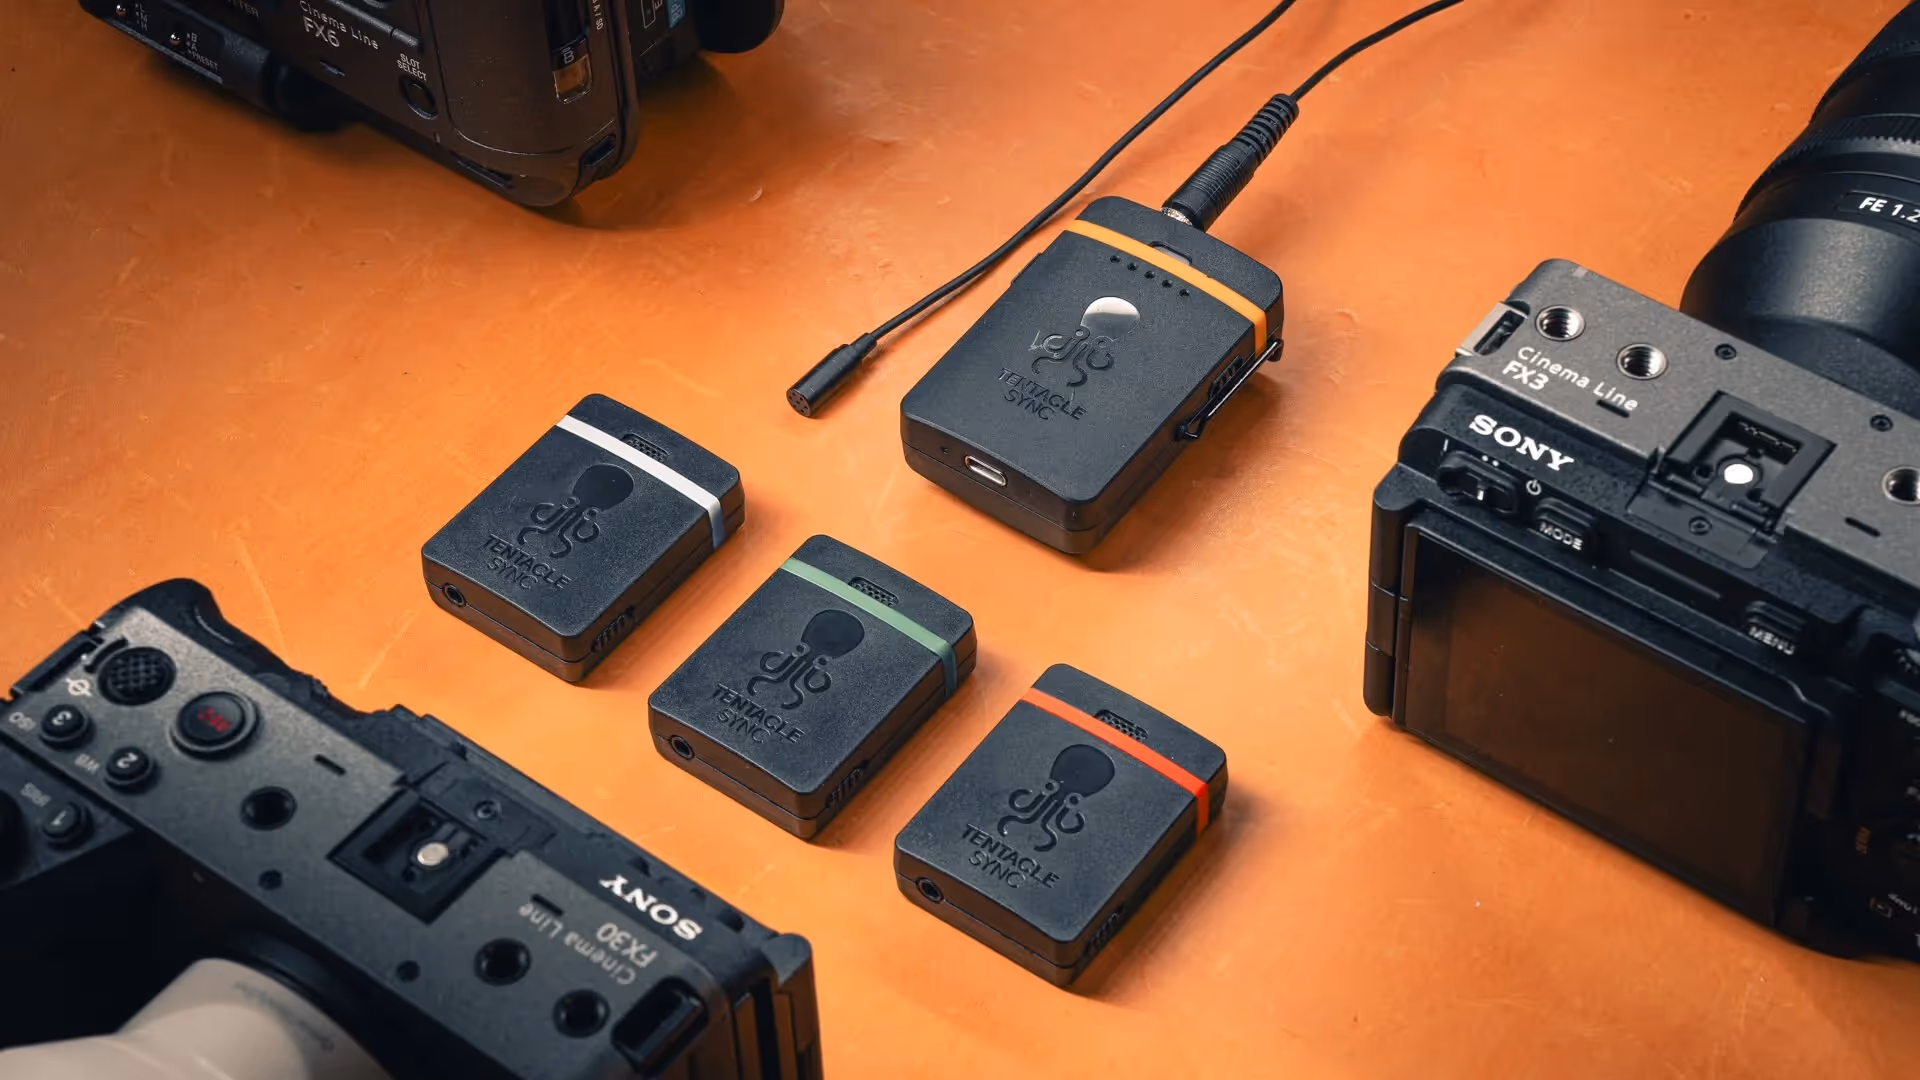
Connecting Sync E to Sony FX3 & FX30
Now we can connect our Sync E’s to our cameras. The Sony FX3 and FX30 can use the Tentacle Sync cable that goes directly from the multi port to the 3.5mm on the Sync E. I like this better than the official Sony timecode cable because it’s a multi-to-BNC adapter, then you would have to use a BNC to 3.5mm adapter. I like using this because it’s one adapter, and it’s cheaper than the Sony cable.
Connecting Sync E to Sony FX6
When it comes to connecting the Sync E to the Sony FX6, this is much more straightforward since it uses a BNC connector, and using a BNC to 3.5mm cable is all we need to do here. No adapters needed. Nice.
Timecode Display on the Sony FX3 and FX30
There is a little setup we’ll have to do on our cameras to display the timecode correctly, so let’s quickly dive into the FX3 and 30 menus first.
Make sure “Setup”, “Display Option”, “TC/UB Display Option”, is set to “TC”.
And in the “Shooting” menu, that “TC/UB”, “Timecode Run” is set to “Free Run”.
If shooting RAW, in the external output menu, select HDMI output settings, and make sure time code output is selected.
We now should be seeing the timecode on the top of our frame.
Timecode Display on the FX6
To get timecode working on our FX6, we’ll go into the main menu,
“TC Media”, “Timecode” and “Mode” is “Preset” and “Run” is set to “Free Run”.
and then “Display Select” is set to “Timecode”.
Then in “Monitoring”, “Display On/Off”, set “Timecode” to “On”.
Now we should see the timecode on the bottom left-hand side of our monitor.
If you shoot RAW, make sure to turn “TC/Media”, “HDMI TC Out”, to “On”. Now we have timecode in our RAW recordings.
If this was helpful, a like and subscribe is appreciated. Because that took a long time to figure out.
Tentacle Sync Track E Workflow
When it comes time to connect our Lav mics, we're using the Track E, so it’s very similar to the Sync workflow.
Add the device to the app, and it will show up with a list of options in the app. The first thing I did was go into settings and enable 32-bit float recording, and properly name the mic.
Now you can record and be able to sync with your footage with timecode. And since everything is synced together and using 32-bit float audio, nothing is running back to your camera to have to input into your camera’s feed, and you wont have to try to line everything up with a clap on the waveform of your audio.
Most Important Part: Sync The Timecode
When it comes time for the most important part, you can do it two ways. Syncing these devices together with USB can sync the device, but I find working with the app faster and easier. It’s nice an app-less way of syncing all devices together exists if my phone dies, but still, I like using the app.
With all of the cameras on the same frame rate, we can sync our timecode. I try to use the time of day.
Hitting “Start” will connect to all of your devices and send the timecode out to them. And were done!
Visual Inspection
Now if everything went according to plan, we should be seeing the app output timecode to our cameras, and the monitors displaying the correct values.
One thing to note here, this will set your internal timecode, even if you unplug the Sync E. However, not having the timecode box plugged in over long periods can cause the timecode to drift and get out of sync. And it can happen pretty quickly, so it’s important to have all of these boxes plugged in for the duration of the shoot.
Using the app while recording, you’re able to start/stop recording, listen back to recordings, and listen to a feed of the audio - however, the feed is delayed and is for reference purposes only. I like checking the audio to make there there is no rustling or distortion happening with the mic.
Also like that the Track E records internally, and if you have 2 or 3 of these packs near each other, there in no RF interference that wireless lav mics have. And with the 32-bit float recording is great if someone peaks the audio.
Post Production Workflow
After the shoot, we can bring these into our editing software to sync them up. We’ll be using the tentacle sync software on a Mac to sync the clips together, then export the sequence to our editing software. The Sync app is included with most Sync and Track E purchases and works like magic.
First, import all of your footage and audio with the same timecode to the software. You can drag all of the footage and audio into the left-hand side of the software, and it will analyze all of the metadata and tell you if there are any problems.
Since we're using all file TC embedded in the metadata, we won't be using any audio TC. Going through each of our assets we want to see the green dot by the file TC so there are no issues and everything will sync as we want it to.
As a final step before syncing, I like to push the show info button, and this green flag means there is another clip matching this clip - if you shut all other cameras off, and record on one camera, this will mark the clip red, meaning at that time, that was the only clip being filmed. For B-roll, this is probably ok, but if your A-roll has this, make sure you imported all of your clips.
Now for the moment of truth, pressing the sync map button automatically generates a timeline with all our clips aligned based on their timecode. And it happens that fast too. Now, we can export this a few different ways, but for example, we want to export this as an XML file to use in Premiere.
Opening Timecode XML in Premiere Pro
With a fresh Premiere Pro project, import our XML file, and there is a folder with assets, and a sequence with all of our files aligned via timecode. Huge time saver.
Notes
Re-syncing timecode after Shutdown
One thing to know, after you turn a timecode device off, an accurate timecode is lost and the devices will probably be drifting at different rates. You’ll need to be re-sync the devices via the app. Since this is the app is Bluetooth, just turning them on and re-syncing from the app is all we need to do.
Check Your Camera and Audio Recorders’ Compatibility
Another thing to be sure of is what kind of Timecode is compatible with your camera. If your camera isn’t compatible with metadata timecode, you’ll have to use the audio timecode. The workflow is very similar, but one of your audio tracks will be used for timecode which sounds like an angry dial-up modem. So you’ll probably want an external audio recorder. With metadata, you can use a 3.5mm stereo mic.
Conclusion
Thats all there is to Metadata timecode with Sony cameras. Id love to see other Sony cameras, like the A7S III, get a firmware update to use metadata timecode, but for Sony Cinema cameras, this workflow has been working great.
If you liked this video, make sure to leave a like and check out this BTS breakdown video. Thanks for sticking around until the end, and I’ll see you in the next one.